
| 일 | 월 | 화 | 수 | 목 | 금 | 토 |
|---|---|---|---|---|---|---|
| 1 | 2 | 3 | 4 | 5 | 6 | 7 |
| 8 | 9 | 10 | 11 | 12 | 13 | 14 |
| 15 | 16 | 17 | 18 | 19 | 20 | 21 |
| 22 | 23 | 24 | 25 | 26 | 27 | 28 |
| 29 | 30 | 31 |
- erc4337
- Vue.js
- ethers typescript
- 러스트 기초
- cloud hsm
- 러스트 기초 학습
- cloud hsm 서명
- redux 기초
- 러스트기초
- 오블완
- vue기초
- git rebase
- 체인의정석
- ethers v6
- 스마트컨트렉트 예약어 함수이름 중복
- 계정추상화
- ethers websocket
- Vue
- ethers type
- 스마트 컨트렉트 함수이름 중복
- 스마트컨트렉트 함수이름 중복 호출
- 컨트렉트 동일한 함수이름 호출
- cloud hsm 사용하기
- ambiguous function description
- redux toolkit 설명
- rust 기초
- SBT표준
- 티스토리챌린지
- 머신러닝기초
- erc4337 contract
- Today
- Total
체인의정석
텔레그램 봇 기본 틀 만들어 보기 (기본 템플릿, 깃허브 소스코드 및 사용방법 포함, javascript & typescript) 본문
텔레그램 봇 기본 틀 만들어 보기 (기본 템플릿, 깃허브 소스코드 및 사용방법 포함, javascript & typescript)
체인의정석 2023. 7. 29. 22:35요즘 우리 팀에서는 텔레그램 봇을 통해 다양한 DAPP 관리나 모니터링 등을 하고 있다.
보아하니 매우 유용하게 사용이 가능할거 같다는 판단이 들어 이에 따라 나도 한번 텔레그램 봇을 학습해보려고 한다.
* 일단 해당 내용의 경우 아래 깃허브 브랜치에 만들어 두었다.
https://github.com/hyunkicho/telegrambot/tree/demo/telegrambot
1. 텔레그램에서 bot father 계정 찾고 봇 계정 만들기

먼저 텔레그램 아이디로 봇 파더 계정에게 말을 걸어서 계정을 할당받아야 한다.

/start 로 말을 걸면 각 종 명령어들이 나온다.

/newbot 명령어로 새로운 봇을 만들도록 시키게 되면 이름을 만들라고 시키는데
bot으로 끝이 나는 이름이면 다 오케이다.
그리고 그 다음
Use this token to access the HTTP API:
이런 문구와 함께 접근 토큰을 하나 주는데 이 코드는 외부 노출이 되면 안된다.
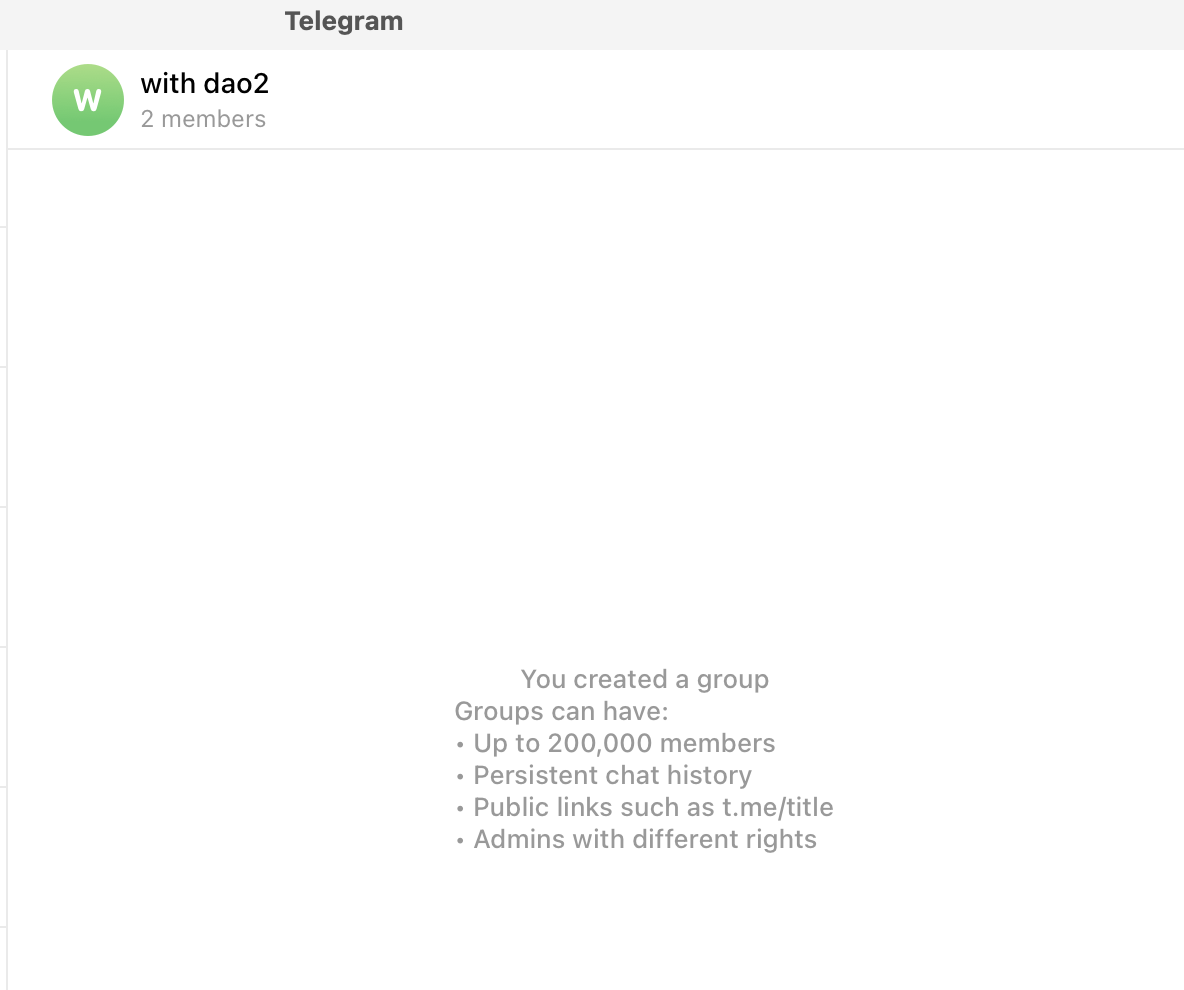
2. 다른 사람 1명과 단톡을 파고 그 안에 봇 계정 초대하기
그 후 단톡을 판 다음에 그 단톡에 봇 계정을 초대한 후 API 키를 사용해 명령어를 내리면 된다.
단톡에는 나랑 봇 2명만 있어도 된다.
이때 한 봇이 여러 채팅방에 있을 수 있기에 할당된 채팅방 아이디를 체크 한 후 해당 채팅방 아이디에 명령어를 내려주어야 활용이 가능하다.
https://api.telegram.org/bot123456789:jbd78sadvbdy63d37gda37bd8/getUpdates
챗 아이디를 찾는 방법은 위의 링크에서 bot 뒤에 위에 적혀있는 토큰번호가 아닌 내 토큰 번호를 넣어주면 된다.
그럼 json 형태의 응답값이 나오는데 여기에서 챗 아이디를 확인할 수 있다.
쳇 아이디는 큰 숫자일수도 음수 일수도 있다. 여기서 채팅방 이름에 해당하는 챗 아이디까지 찾아주었다면 이제 다음단계로 넘어 갈 수 있다.
* 그러나 챗 아이디 없이도 전체 채팅 대상으로 봇이 작동하기 때문에 챗 아이디가 필요하지 않다면 (하나의 대화방만 관리하는 것이 아니라면) 굳이 안 넣어줘도 된다.
3. node 모듈로 텔레그램 봇 프로그램 만들기
API와 챗 아이디만 있다면 모듈을 통해서 쉽게 봇을 만들 수 있다.
https://www.npmjs.com/package/node-telegram-bot-api
node-telegram-bot-api
Telegram Bot API. Latest version: 0.61.0, last published: 7 months ago. Start using node-telegram-bot-api in your project by running `npm i node-telegram-bot-api`. There are 329 other projects in the npm registry using node-telegram-bot-api.
www.npmjs.com
내가 사용해 볼 모듈은 위의 모듈이다.
npm install --save-dev @types/node-telegram-bot-api먼저 모듈을 설치해주자.
그리고
const TelegramBot = require('node-telegram-bot-api');

// replace the value below with the Telegram token you receive from @BotFather
const token = 'YOUR_TELEGRAM_BOT_TOKEN';

// Create a bot that uses 'polling' to fetch new updates
const bot = new TelegramBot(token, {polling: true});

// Matches "/echo [whatever]"
bot.onText(/\/echo (.+)/, (msg, match) => {
  // 'msg' is the received Message from Telegram
  // 'match' is the result of executing the regexp above on the text content
  // of the message

  const chatId = msg.chat.id;
  const resp = match[1]; // the captured "whatever"

  // send back the matched "whatever" to the chat
  bot.sendMessage(chatId, resp);
});

// Listen for any kind of message. There are different kinds of
// messages.
bot.on('message', (msg) => {
  const chatId = msg.chat.id;

  // send a message to the chat acknowledging receipt of their message
  bot.sendMessage(chatId, 'Received your message');
});
이 기본 템플릿을 사용하면된다. 해당 코드는 위의 npm 설치 페이지에 있는 코드 인데 직접 사용해 보면서 어떤 기능을 하는지 살펴보도록 하겠다.
그리고 프로젝트를 이제 막 시작하는 것이기에 딱 봐도 필요한 모듈들을 몇개 설치해주자.
일단 토큰이 개인정보이기 때문에 노출되면 안되므로 .env를 사용할것이다.
npm i dotenv --save그리고 봇이 죽으면 안되니까 pm2 도 설치해주자. 지금은 사용하지 않겠지만 나중에는 봇이 죽지 않기 위해서 사용할 것이기에 미리 설치만 해주겠다.
npm i pm2 --save4. 타입스크립트로 바꿔주기
그리고 난 타입스크립트로 한번 해보려고 하니 ts-node도 설치해주겠다.
npm i ts-node --save타입도 따로 가져오기 위해 모듈을 추가로 받아주고
npm i @types/node-telegram-bot-api --savets config 파일도 만들어 준다.
tsc --init그리고 아래 블로그를 참고해서 ts config를 조금 고쳐주었다.
https://darrengwon.tistory.com/109
Typescript 사용 환경 설정, tsconfig의 속성들
Typescript는 js의 슈퍼셋이며 js로 transpile합니다. 동적 타입 언어인 js를 정적 타입 언어로 사용할 수 있게 됩니다. 물론 동적 언어로 발생할 수 있는 에러를 테스트 코드의 커버리지를 높이는 방식
darrengwon.tistory.com
import TelegramBot from 'node-telegram-bot-api';

// replace the value below with the Telegram token you receive from @BotFather
const token = process.env.TOKEN;

// Create a bot that uses 'polling' to fetch new updates
const bot = new TelegramBot(token!, { polling: true });

// Matches "/echo [whatever]"
bot.onText(/\/echo (.+)/, (msg: TelegramBot.Message, match: RegExpExecArray | null) => {
    if (match === null) {
      return;  // or handle this situation in another appropriate way
    }

    // Your existing logic
    const chatId = msg.chat.id;
    const resp = match[1]; // the captured "whatever"

    // send back the matched "whatever" to the chat
    bot.sendMessage(chatId, resp);
  });

// Listen for any kind of message. There are different kinds of
// messages.
bot.on('message', (msg: TelegramBot.Message) => {
  const chatId = msg.chat.id;

  // send a message to the chat acknowledging receipt of their message
  bot.sendMessage(chatId, 'Received your message');
});
@types를 다운 받고 ts config 부분에 이를 잘 지정해주면 노드 모듈을 가져올 시 타입이 알아서 지정되기 때문에 큰 문제가 없었다.
{
  "compilerOptions": {
    "baseUrl": ".", // This is the new line
    "target": "ES2019",
    "module": "commonjs",
    "moduleResolution": "node",
    "esModuleInterop": true,
    "strict": true,
    "forceConsistentCasingInFileNames": true,
    "skipLibCheck": true,
    "typeRoots": ["./node_modules/@types", "./types"],
    "paths": {
      "*": ["node_modules/*"]
    }
  }
}
내가 만든 tsconfig.json 파일은 위와 같다.
5. 사용해보기
이제 ts-node로 위의 파일을 실행해 보았더니

다음과 같이 모든 채널에서 봇이 잘 돌아가는 것을 볼 수 있었다.
한번 자기소개 하는 로직을 넣어보고 싶어서 넣어보았더니

잘 작동한다.
  bot.onText(/\/intro/, (msg: TelegramBot.Message) => {
    const intro = "my name is demo telegram bot you can ask me to do anything"
    const chatId = msg.chat.id;
    // send back the matched "whatever" to the chat
    bot.sendMessage(chatId, intro);
  });
코드를 조금 더 살펴보자면
// Matches "/echo [whatever]"
bot.onText(/\/help (.+)/, (msg: TelegramBot.Message, match: RegExpExecArray | null) => {
    if (match === null) {
      return;  // or handle this situation in another appropriate way
    }
    console.log(match);
    // Your existing logic
    const chatId = msg.chat.id;
    const resp = match[1]; // the captured "whatever"

    // send back the matched "whatever" to the chat
    bot.sendMessage(chatId, JSON.stringify(match));
  });
해당 코드의 경우 msg 안에 챗 아이디가 들어 있어서 메세지가 온 채팅방에 응답값을 줄 수 있으며
메세지를 입력 받을 경우 해당 메세지를 입력받아와서 무언가를 해주거나
match를 통해서
[
  '/help introducing',
  'introducing',
  index: 0,
  input: '/help introducing',
  groups: undefined
]
이렇게 입력 받은 값을 input으로 받아올 수 도 있다.
여기 안에 그래서 input값을 잘 짜고 이것저것 하면 재밌는 것을 많이 만들 수 있을 것 같다.
여기서는 Msg안에 chat ID가 있기 때문에 여기서 chatID를 가져와서 다시 응답 값을 보내주고 있는데 이에 따라서 해당 메세지를 보낸 채팅방에다가 다시 응답을 보내 줄 수 있다.
(만약 하나의 채팅방에서만 코드를 짠다면 그냥 chatID를 고정해주고 응답을 주어도 상관이 없다.)
'개발 > frontend' 카테고리의 다른 글
| [React+Next+typescript+rainbow wallet] 관리자 페이지 만들고 rainbow wallet 붙이기 (블록체인 앱 관리자 페이지 만들기) (0) | 2025.03.27 |
|---|---|
| Metamask + Next.js 적용해서 프론트 페이지 만들어보기 (0) | 2024.06.13 |
| React 시작해보기 - Tic Tac Toe 튜토리얼 프로젝트로 기초 다져보기 (0) | 2023.07.22 |
| React 시작해보기 - 튜토리얼 사이트에서 기초 특징 빠르게 익히기 (0) | 2023.07.15 |
| html 웹 서버로 명령어 한번에 띄우기 http-server (0) | 2023.06.10 |

